My cart
Your shopping cart is empty.
Love your sunglasses but can’t see them here?
We’ll craft made-to-measure precision lenses to bring your favourite sunglasses back to life.
Simply post them to us and relax while we do the rest.

Need a nose pad or a spare part to get your sunglasses looking and fitting like new?
Choose from our comprehensive spares and we'll mail them to you for free.
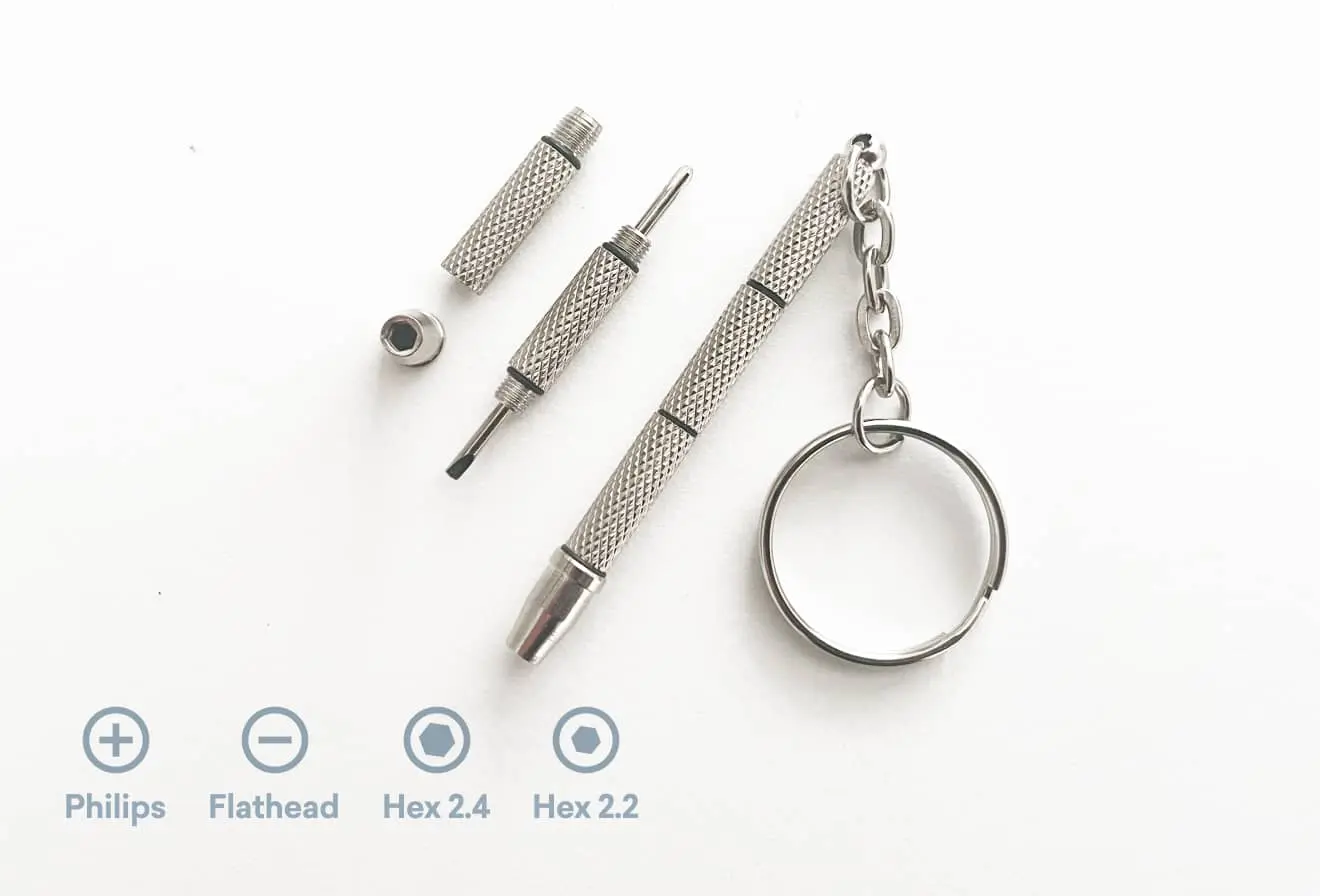
A multi-tool to tighten up hinge screws ensuring frame arms are secure
Flathead, Phillips, Hex 2.2mm, Hex 2.4mm)
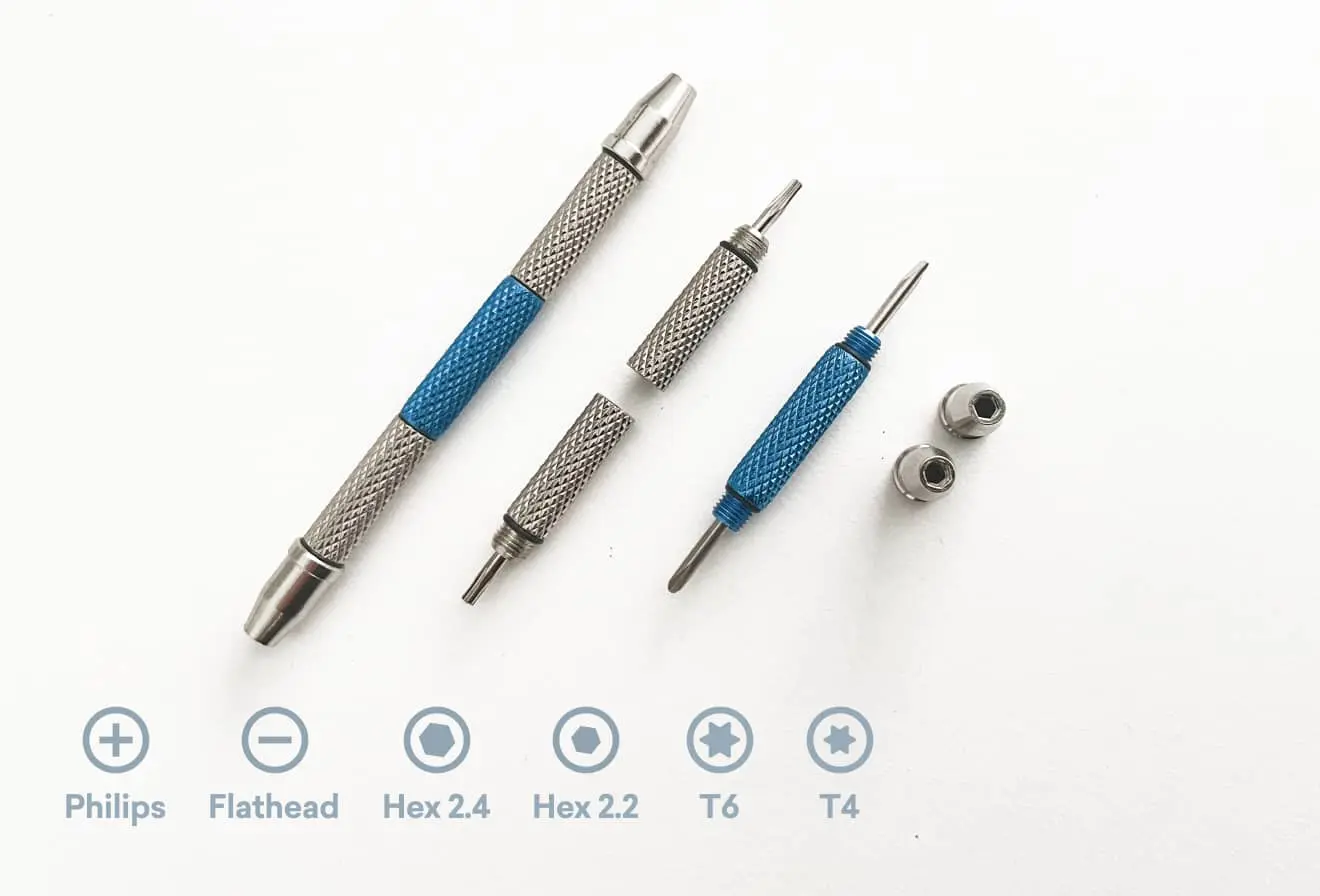
A multi-tool to tighten up hinge screws ensuring frame arms are secure.
(Flathead, Phillips, Hex 2.2mm, Hex 2.4mm, Torx T4, Torx T6)

A specialised tool to install lenses in certain rimless frames.
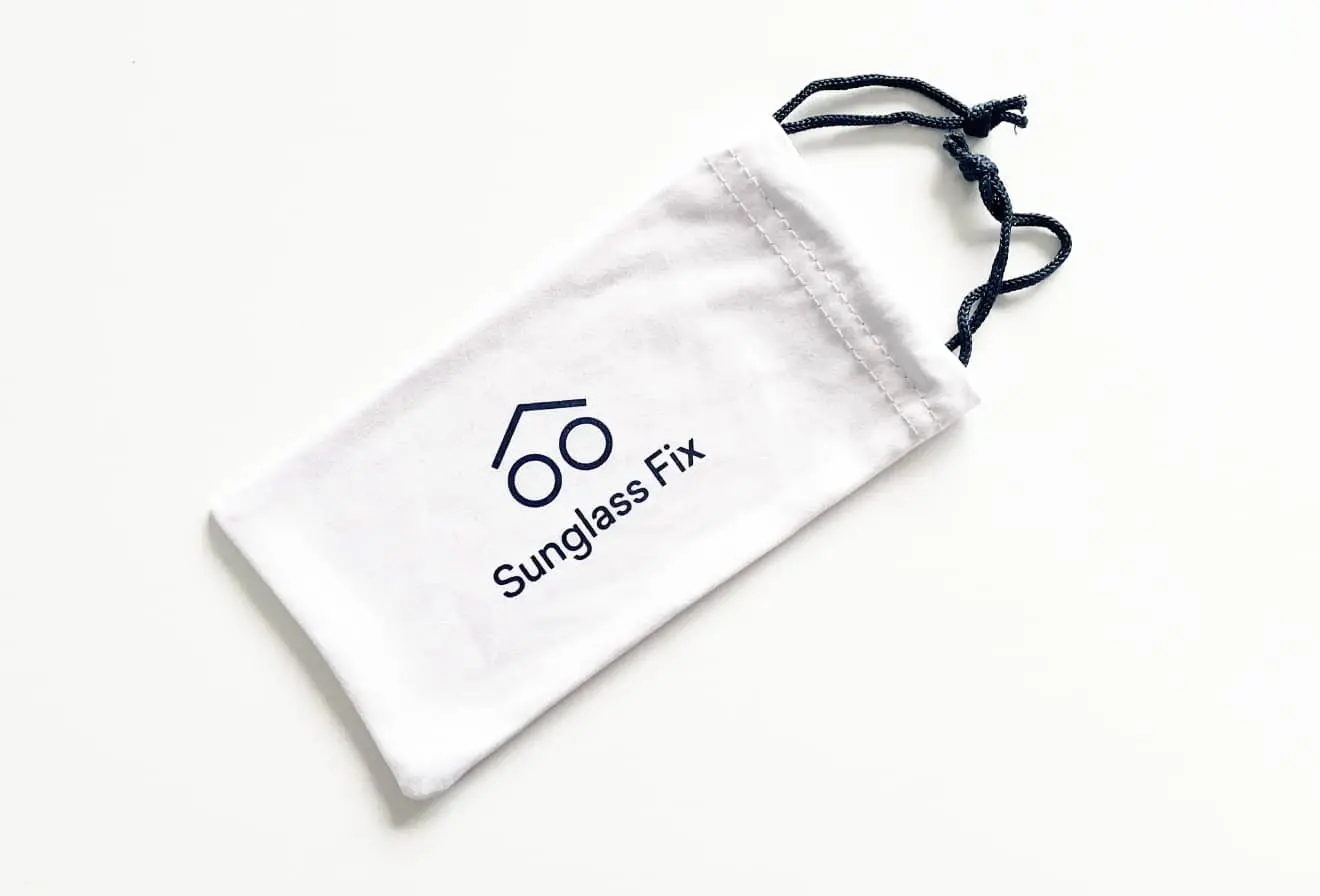
Our high quality microfibre sunglass pouch is perfect for cleaning the lenses and keeping your sunglasses safe from scratches.

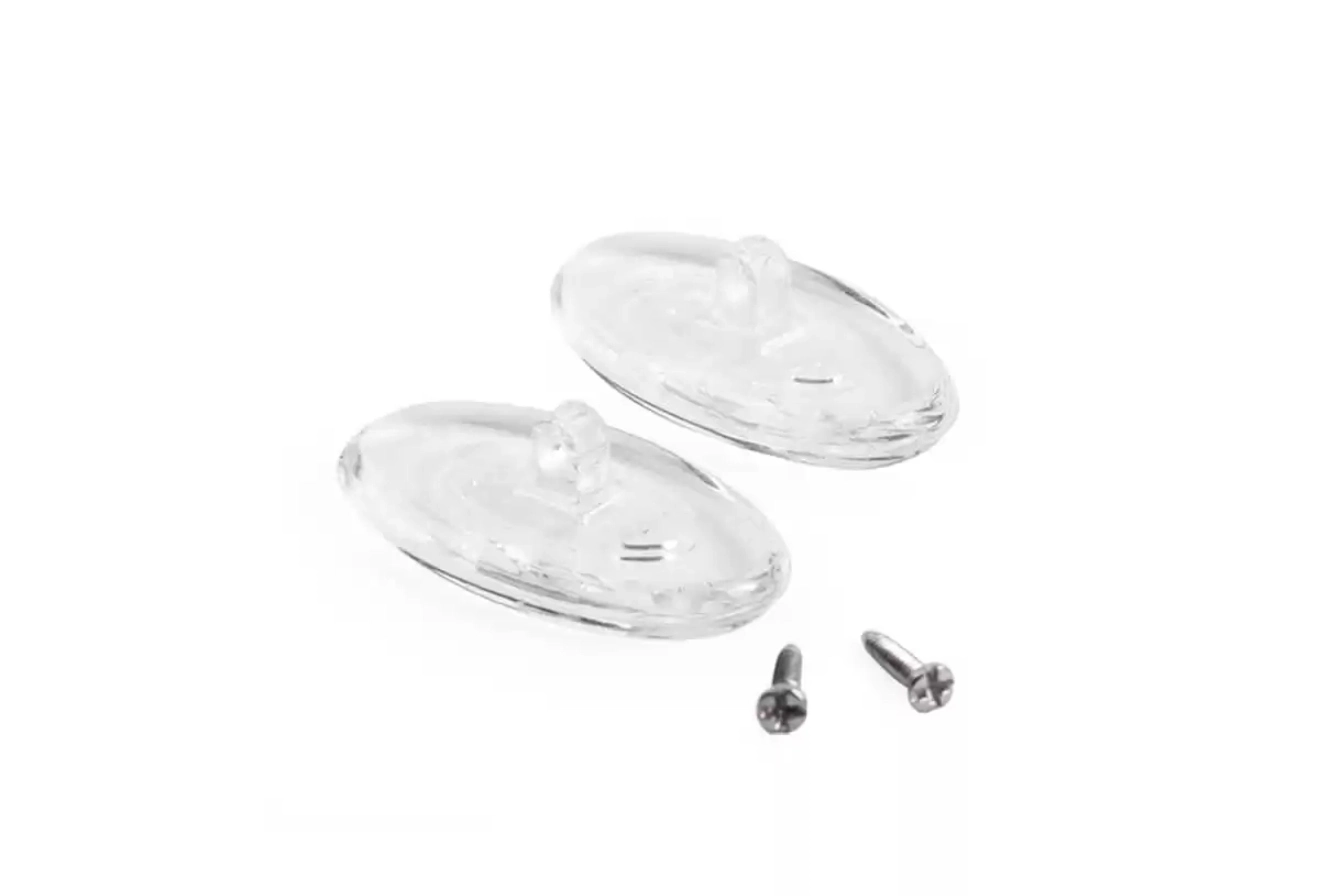
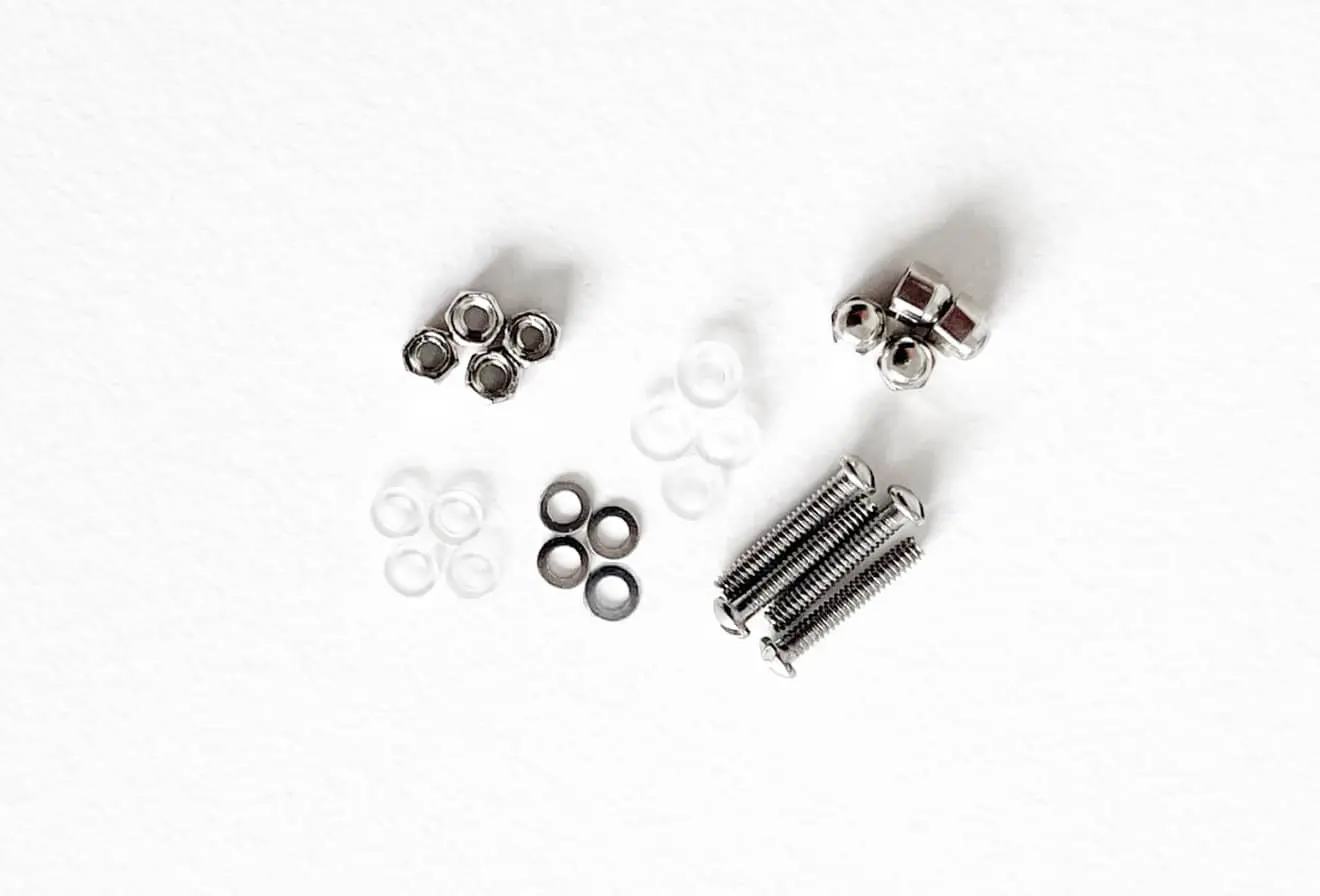
Screws for installing lenses in rimless frames; your choice of gold or silver parts.
(4x 1.4mm bolts, assorted nuts & washers)
Screws for installing lenses in rimless frames; your choice of gold or silver parts.
(4x 1.4mm bolts, assorted nuts & washers)
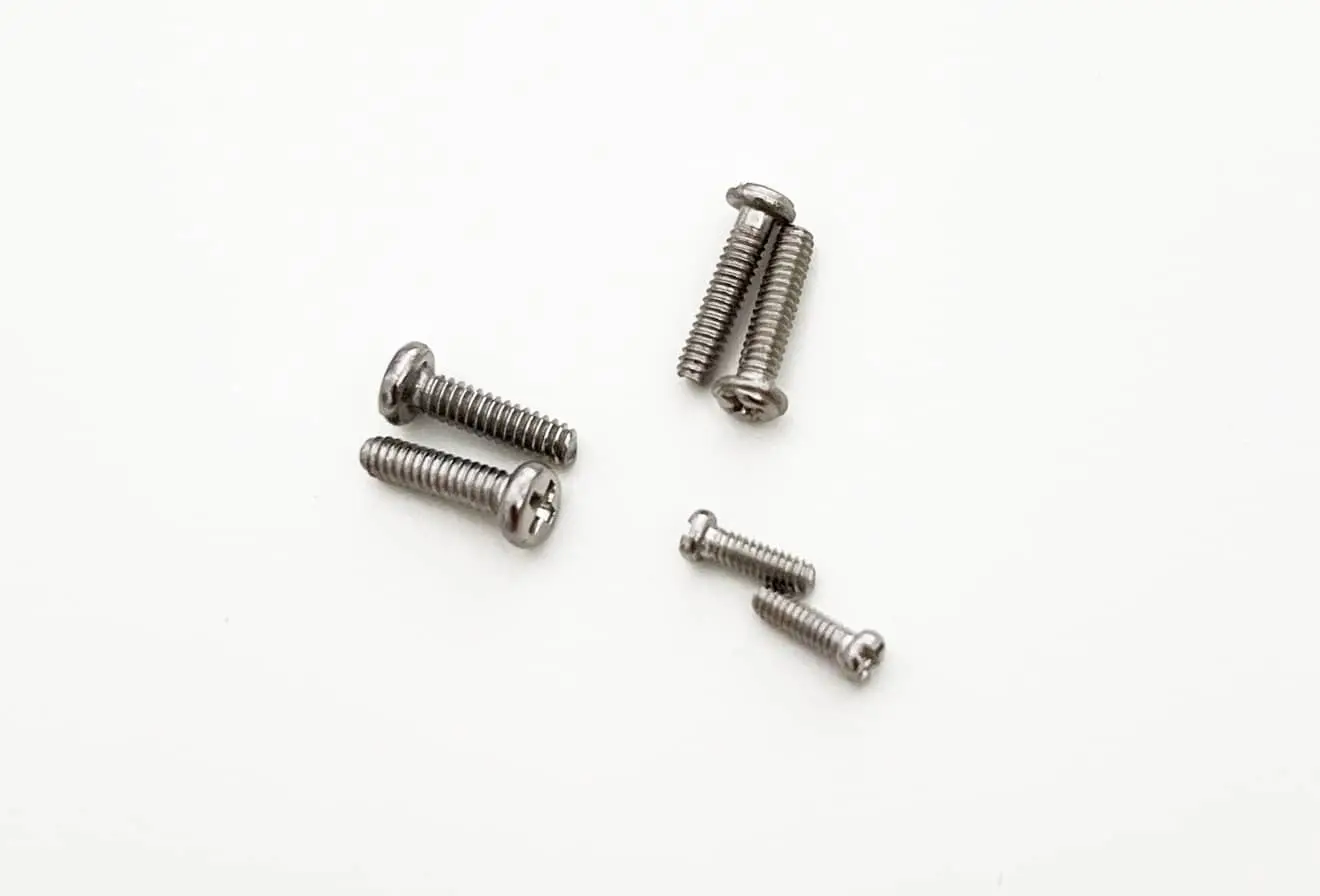
Replacement hinge screws to keep your frames in one piece
6 hinge screws (2x 1.2mm, 2x 1.4mm, 2x 1.6mm)
Firstly, determine how your current nose pads mount to your sunglasses. It's best to remove your
current nose pads, this will allow you to determine the exact mounting style and measure their size.
Click on which mounting type you have and then you can see what we have available.
Firstly, determine how your current nose pads mount to your sunglasses. It's best to remove your current nose pads, this will allow you to determine the exact mounting style and measure their size. Click on which mounting type you have and then you can see what we have available.

Push in nose pads attach to the glasses frame by a small rectangular opening on the nose stem.

Screw in nose pads attach to the glasses frame by a small screw.

A clip on or crimp on nose pads have two metal stems that wrap around the nose pad stem on the frame.

Push in nose pads attach to the glasses frame by a small rectangular opening on the nose stem.

Screw in nose pads attach to the glasses frame by a small screw.
Screw-In nose pads are installed by unscrewing the small screw (usually 1mm) in the nose stem just enough to release the old nose pad. Please don't completely remove the screw as they are hard to find if you drop them.
Insert the new nose pad in the same direction as the original, pushing the nose pad tab through the stem receiver. Line up the hole in the nose pad receiver the best you can, then re-tighten the screw.
Push-In nose pads are installed by first removing the original nose pad. Most of the time this can be done by pulling on the nose pad while firmly holding the nose pad stem. It's important to get a firm grip on the stem as stems will bend or break off if too much pressure is applied to them. You can also use a toothpick or optical screwdriver to push the nose pad tab through the receiver.
Once removed, insert the new nose pad into the receiver. Push firmly on the nose pad face while holding the back of the stem receiver. If it doesn't go all the way in, then get a set of pliers and cover the plier teeth with a cloth. Very gently squeeze the nose pad into the stem putting as little strain on the stem as possible.
We have an extensive list of common questions and answers if you need further guidance,
alternatively please feel free to contact us if you have any problems or cannot find what you are looking for.
We have an extensive list of common questions and answers if you need further guidance, alternatively please feel free to contact us if you have any problems or cannot find what you are looking for.