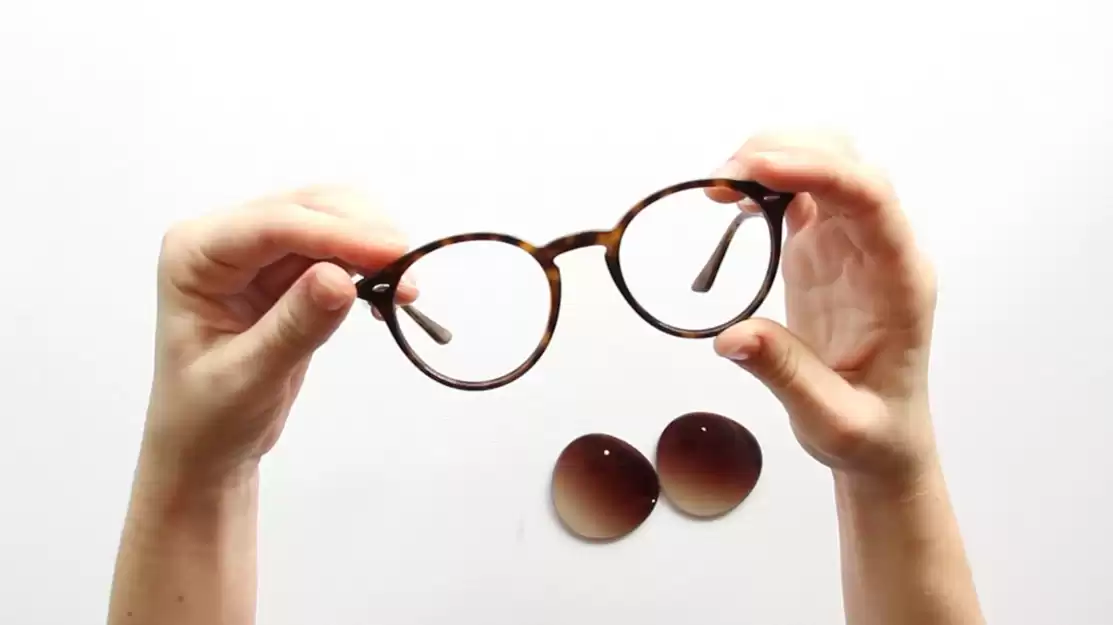
Fitting instructions for plastic sunglass frames

If you have plastic frames, first identify which type you have:

1. Flexible plastic frames

2. Rigid or thick plastic frames, such as Ray-Ban Wayfarers and some Otis models

3. Clip-in plastic frames

Fitting guide: flexible plastic frames

Video thumbnail

Step 1:

Hold the sunglasses with the front facing away from you. With one hand, hold the frame at its thinnest point and, with the other, grip the lens between your thumb and index finger.

Step 2:

Pull the frame slightly away from the lens to create enough room to remove it. Apply pressure to the lens and push it out of the frame. Repeat with the second lens.

Step 3:

Turn the sunglasses so the front faces you. Align each new lens with the frame and press it into place from the front. You should hear it click into position.

Step 4:

Run your fingers around the edge of each lens to make sure it is securely seated in the frame. Clean the lenses with a soft cloth.

Fitting guide: rigid plastic frames

Step 1:

Because these plastic frames are very rigid and hold the lenses firmly, you may need to warm the frame slightly to make it more flexible. First, locate the thinnest part of the lens.

Step 2:

Hold the frame with the front facing away from you and grip the lens as close as possible to its thinnest point. Pull the frame away from the lens while gently pushing and twisting the lens outward.

Step 3:

Insert the new lens from the front, starting on the temple side. Align the edge with the frame and use your thumb to work the lens towards the nose bridge until it clicks into place.

Step 4:

Run your fingers around the edge to check that the lens is securely seated, then clean both lenses with a soft cloth.

Fitting guide: clip-in plastic frames

Step 1:

Lenses in clip-in plastic frames are generally straightforward to remove. Start at the corner of the lens closest to the nose pads.

Step 2:

Hold the frame firmly and gently pull the lens away from it. Repeat with the second lens.

Step 3:

To install the new lens, begin with the side closest to the temple. Then press the second corner into the notch near the nose bridge.

Step 4:

Check that the lens is securely in place and clean it with a soft cloth.