Fitting instructions for rimless and semi-rimless frames

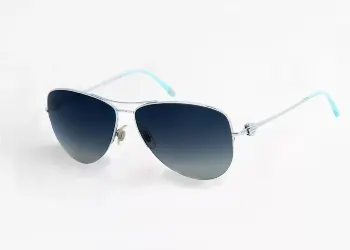
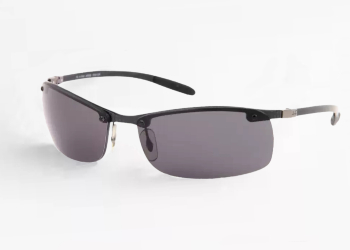
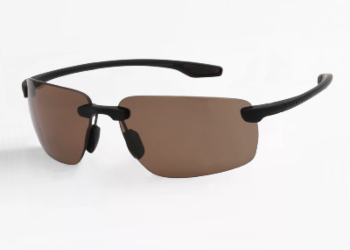
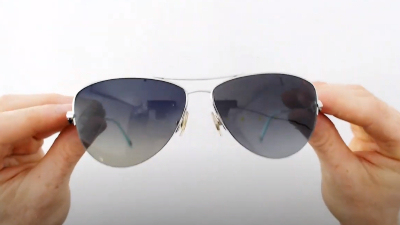
Fitting replacement lenses in rimless and semi-rimless sunglasses generally falls into three categories:

1. Semi-rimless frames that use a nylon cord to hold the lens in place.

2. Semi-rimless frames where the lenses are secured with screws.

3. Fully rimless frames where the lenses are attached directly to the bridge and temples with screws.

Fitting guide: nylon-cord frames

Step 1:

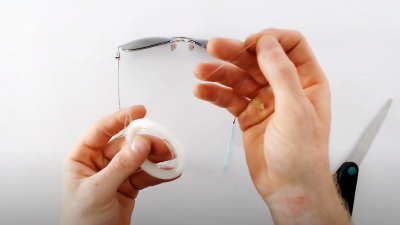
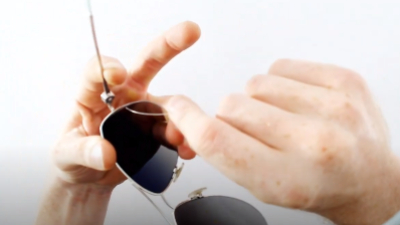
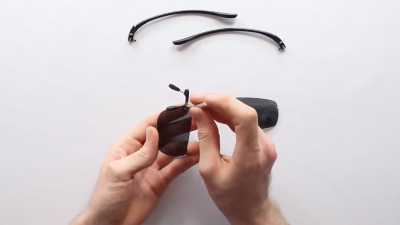
You'll need a thin piece of fishing line to help release the nylon cord that holds the lens in place. Thread the fishing line between the lens and the frame.

Step 2:

There should be a small gap where the solid part of the frame meets the nylon cord. Feed the fishing line through this gap and around the frame's nylon cord. Pull the fishing line along the edge of the lens to gradually lift the nylon cord out of its groove.

Step 3:

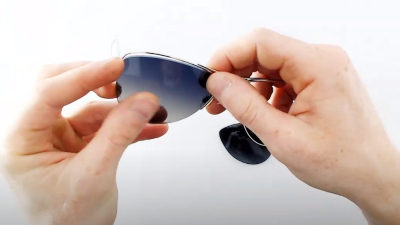
To install the new lens, carefully insert it into the upper section of the frame. Place the fishing line around the nylon cord again and use it to guide the cord gradually back into the groove around the lens.

Step 4:

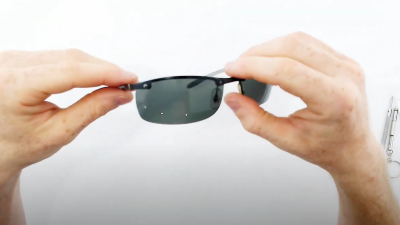
Move the installed lens gently in both directions to make sure the nylon cord is seated securely in the groove all the way around. Clean the lens with a soft cloth.

Fitting guide: semi-rimless screw-mounted frames

Step 1:

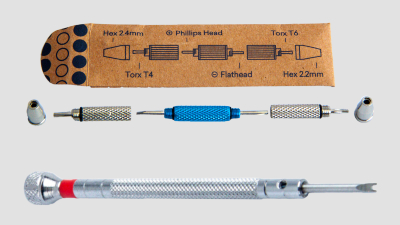
You'll need a 2.4 mm hex key and a U-fork screwdriver. Both tools are available from our website, or an optician can fit the lenses for you.

Step 2:

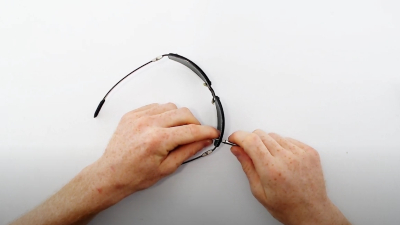
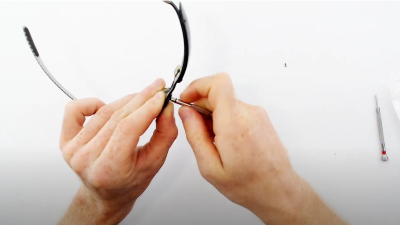
Hold the nut on the inside of the frame with the U-fork screwdriver while loosening the screw from the front with the hex key. Remove the screws on both the nose and temple sides of each lens.

Step 3:

Once the original lenses are removed, align the replacement lenses with the mounting holes. Install the nose-side screw first, followed by the temple-side screw, holding the nut in place with the U-fork screwdriver.

Step 4:

Check that all screws are secure but not overtightened. Clean the lenses with a soft cloth.

Fitting guide: rimless frames

Step 1:

Use a Phillips or flat-head screwdriver to loosen the screws while keeping them attached to the frame where possible. Removing them completely can make small parts easier to lose.

Step 2:

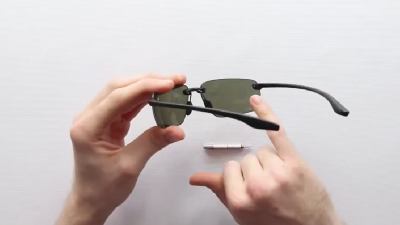
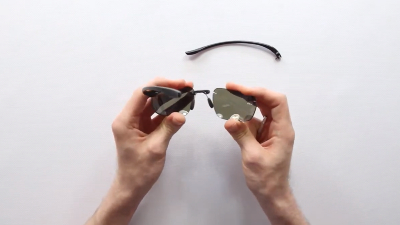
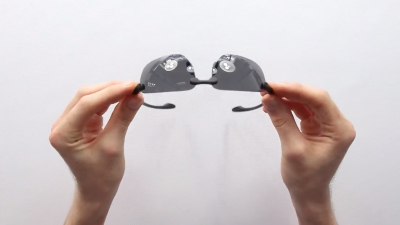
Remove both lenses completely. At this point, the sunglasses should be separated into five main pieces: the nose bridge, the left and right temples, and the two lenses.

Step 3:

Align each new lens with the corresponding frame parts. Apply gentle pressure until the holes line up, then insert the screw. If the screw does not align correctly, remove the lens and check whether it has left a small mark that can help you locate the correct position.

Step 4:

Check all screws and make sure they are secure without overtightening them, as this can damage the plastic where the screw is fixed. Clean the lenses with a soft cloth.